Introduction
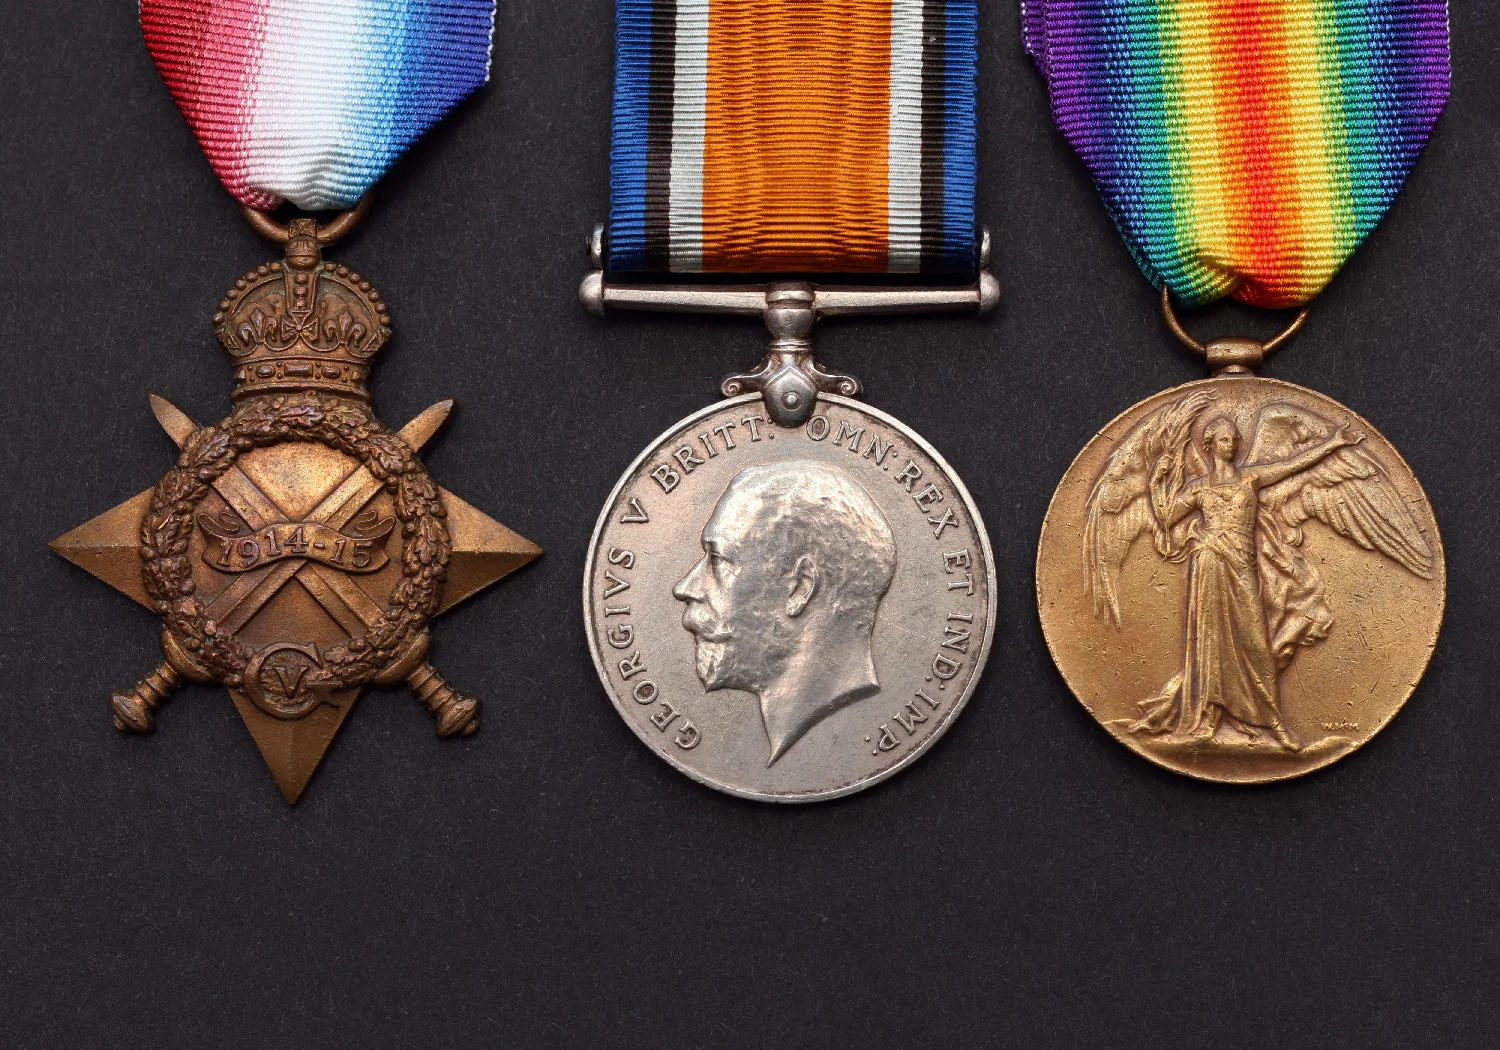
Medals were awarded to soldiers for their service during WW1. An example of the 1914-15 Star, British War Medal & Victory Medal can be seen in the banner image.
What you will need
To design your own medal you will need:
- Embossing foil (for an example, see here)
- Cardboard to lean on
- A blunted pencil
- Scissors
- A hole punch
- Ribbon
Method
Step 1: Plan and draw your design
- You will be ‘engraving’ your design, so aim to make it as clear and simple as possible.
Data | Kids' Activities


Important!
Think very carefully if you want to include writing on your medal, as you will need to write backwards when engraving it. (Best to practice your backwards writing during the design stage.)
Step 2: Engrave your design
- Place your piece of paper with the design onto the piece of foil and secure with paper clips.
- Then place onto the cardboard.
- Using the blunt pencil push to engrave the design.
Data | Kids' Activities

Step 3: Draw a loop at the top of your medal
- Make it large enough for a piece of ribbon to fit through.
Data | Kids' Activities

Step 4: Cut around the outline of your medal
- Remember to include the loop.
Data | Kids' Activities


Step 5: Use the punch to make a hole inside your loop
- Thread a piece of ribbon through the loop hole.
- Get an adult to securely tie a knot to bring the ribbon together into a loop.
Data | Kids' Activities


Congratulations! Your medal is now ready to wear.